Last Updated on November 25, 2025 by Aaron Blake
Have you ever wondered how car wraps transform a plain vehicle into a stunning, eye-catching ride? Whether you want to protect your car’s paint, advertise your business, or simply change your vehicle’s look, understanding how car wraps work can help you make the best choice.
This guide will walk you through the process, materials, and benefits, giving you the confidence to decide if a car wrap is right for you. Keep reading to discover the secrets behind this popular and powerful way to upgrade your car.

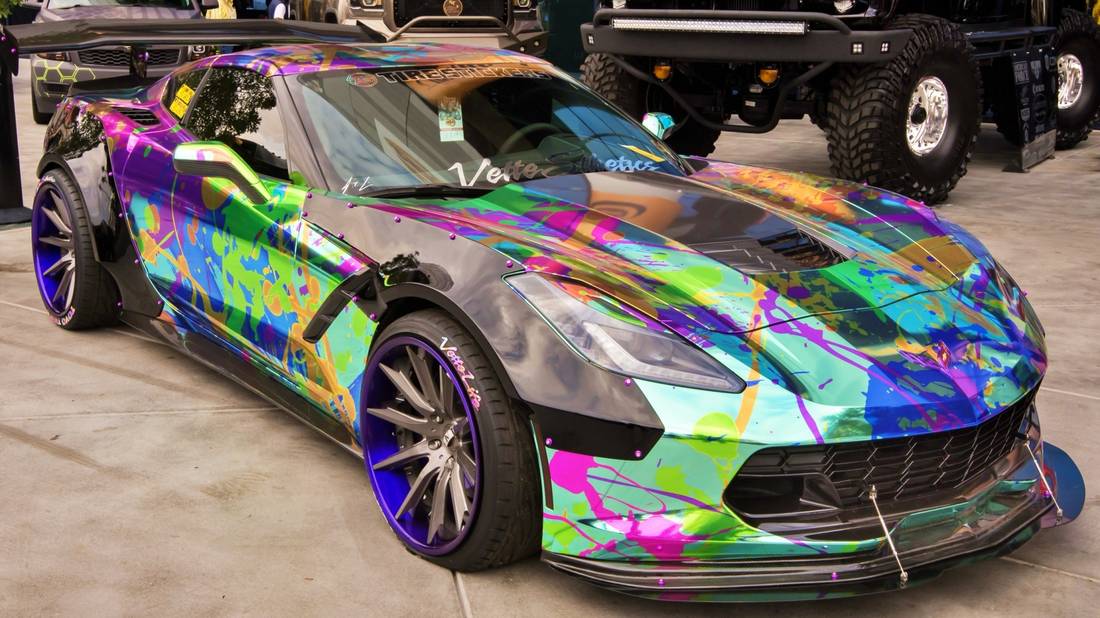
Credit: www.reddit.com
Contents
Basics Of Car Wraps
Car wraps are large vinyl sheets that cover a vehicle’s surface. They change the look of the car without painting it.
Car wraps protect the original paint and allow easy customization. They are popular for both personal and business use.
Materials Used
Vinyl is the main material used for car wraps. It is flexible and sticks well to car surfaces.
There are different types of vinyl, including cast and calendered vinyl. Each type suits different needs.
- Cast vinyl:Thin, flexible, and lasts longer.
- Calendered vinyl:Thicker and more affordable but less durable.
- Laminate films:Added over vinyl for extra protection and shine.
Types Of Wraps
There are several types of car wraps. They differ by finish and purpose.
Matte, gloss, satin, and textured finishes change how the car looks. Some wraps are full, covering the whole car.
- Full wraps:Cover entire vehicle for complete color change.
- Partial wraps:Cover parts like doors or hood.
- Graphic wraps:Show logos or images for advertising.
- Textured wraps:Have special finishes like carbon fiber or brushed metal.
Durability Factors
Durability depends on the vinyl type and how it is applied. Proper installation prevents bubbles and peeling.
Exposure to sun, weather, and car washing also affects how long wraps last. Good care extends their life.
- Cast vinyl lasts up to 7-10 years.
- Calendered vinyl lasts about 3-5 years.
- Regular cleaning helps prevent damage.
- Avoid harsh chemicals to keep wrap looking new.
Credit: www.topspeed.com
Preparation Process
Preparing a vehicle before applying a car wrap is very important. The process ensures the wrap sticks well and looks good.
Good preparation helps avoid bubbles, wrinkles, and peeling later on. It also makes the wrap last longer.
Cleaning The Vehicle
Cleaning removes dirt, dust, and grease from the car’s surface. A clean surface helps the wrap stick properly.
Use soap and water to wash the car well. Then dry it with a clean cloth to avoid water spots.
Surface Inspection
Check the car’s surface for scratches, dents, and rust. These problems affect how the wrap fits and looks.
Fix any damage before wrapping. A smooth surface gives the best finish and helps the wrap last longer.
Removing Obstacles
Remove parts like mirrors, antennas, and badges. These can block the wrap or cause wrinkles.
- Take off side mirrors carefully
- Remove antenna and badges
- Cover or protect lights and trim
Application Techniques
Car wraps change a vehicle’s look by covering its surface with vinyl. The application needs care and skill. This guide explains how professionals apply wraps.
Knowing the right tools and steps helps get a smooth, long-lasting finish. Some challenges may occur, but they can be managed with the right techniques.
Tools Required
Applying a car wrap needs special tools for the best results. These tools help handle the vinyl safely and place it correctly on the car surface.
- Squeegee with felt edge to smooth out air bubbles
- Heat gun to make vinyl flexible
- Utility knife for precise trimming
- Surface cleaner to remove dirt and oils
- Gloves to prevent fingerprints
- Measuring tape to size the wrap
- Magnets or tape to hold vinyl in place
Step-by-step Wrapping
Applying a car wrap follows clear steps. Each step ensures the vinyl sticks well and looks smooth. Skipping steps may cause bubbles or peeling.
- Clean the car surface thoroughly to remove dirt and wax.
- Measure and cut the vinyl to fit each section of the car.
- Position the vinyl on the car using magnets or tape.
- Use the squeegee to press the vinyl onto the surface, pushing out air bubbles.
- Apply heat with the heat gun to help the vinyl stretch and conform.
- Trim excess vinyl carefully with the utility knife.
- Inspect the wrap for any bubbles or loose edges and fix them.
Common Challenges
Some issues can happen during wrapping. Knowing these helps avoid mistakes and fix problems fast.
| Challenge | Cause | Solution |
| Air Bubbles | Trapped air under vinyl | Use squeegee firmly and puncture small bubbles |
| Wrinkles | Vinyl stretched too much or folded | Apply heat and smooth carefully |
| Peeling Edges | Surface not clean or edges not sealed | Clean surface well and press edges firmly |
| Stretch Marks | Overheating vinyl | Heat gently and avoid excess stretching |
Maintenance And Longevity
Car wraps protect your vehicle’s paint and add style. To keep them looking good, you must care for them properly. Regular upkeep extends their life and keeps colors bright.
Small issues can get worse if ignored. Knowing how to clean, fix, and know when to replace helps you save money and keep your car looking fresh.
Cleaning Tips
Cleaning your car wrap gently keeps it safe from scratches and fading. Avoid harsh chemicals and tools that can damage the wrap.
- Use a soft cloth or sponge with mild soap and water
- Rinse the wrap thoroughly to remove all soap
- Do not use abrasive brushes or scrubbers
- Wash the car in the shade to avoid water spots
- Avoid pressure washers closer than 12 inches
- Dry the wrap with a microfiber towel
Repairing Damage
Small scratches or lifts can be fixed quickly to stop further damage. Fixing wraps early saves you from costly replacements.
| Type of Damage | Repair Method | Time to Fix |
|---|---|---|
| Minor Scratch | Use a vinyl-safe polish | 15-30 minutes |
| Lifted Edge | Apply heat and press down | 30 minutes |
| Small Tear | Patch with matching vinyl | 1 hour |
| Large Tear | Replace section of wrap | Several hours |
When To Replace
Car wraps usually last 5 to 7 years. Replace the wrap if it shows signs of fading, cracking, or peeling. Old wraps may also lose their stickiness.
- Check for color fading or dullness
- Look for cracks or peeling edges
- Notice if the wrap bubbles or lifts in many areas
- Evaluate if the wrap looks worn or damaged overall
- Replace the wrap to protect the car’s paint and improve appearance

Credit: www.reddit.com
Frequently Asked Questions
What Materials Are Used In Car Wraps?
Car wraps use vinyl sheets made from durable, flexible plastic that sticks well to cars.
How Long Does A Car Wrap Last?
Most car wraps last between 5 to 7 years with proper care and maintenance.
Can Car Wraps Protect The Original Paint?
Yes, wraps shield the paint from scratches, sun damage, and minor dings.
How Is A Car Wrap Installed?
Experts clean the car, then carefully apply vinyl sheets using heat and tools.
Can Car Wraps Be Removed Without Damage?
Yes, skilled removal leaves the original paint intact and does not harm the car.
Conclusion
Car wraps change a vehicle’s look without paint. They protect your car’s surface from scratches and sun damage. The vinyl material sticks smoothly and lasts for years. You can choose many colors and designs to fit your style. Removing a wrap is simple and does not harm your car.
This makes car wraps a smart, flexible choice for many drivers. Understanding how wraps work helps you decide if they suit your needs. Easy, stylish, and protective—car wraps offer clear benefits.